+
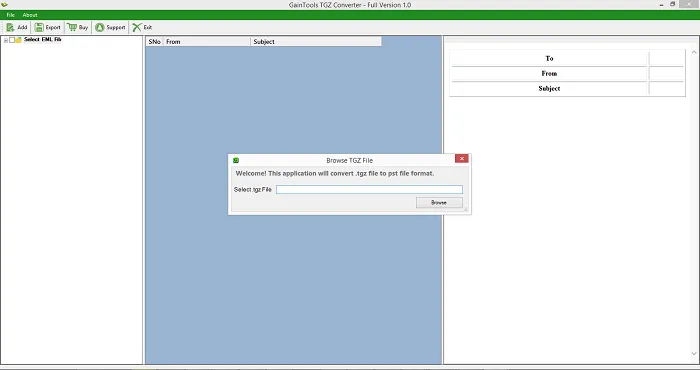
The first step is to download and run the software on your Windows system.
+
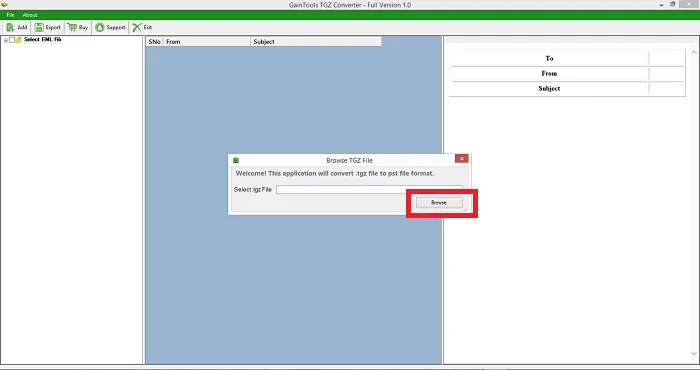
Go to the Browse button and add Zimbra TGZ files to whom you want to migrate.
+
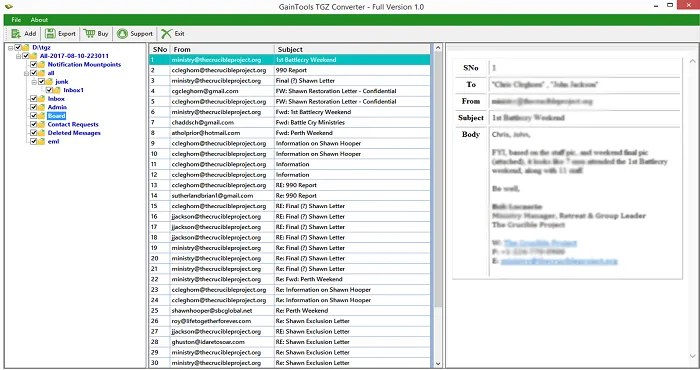
Once the files are added, the tool scans the files and show a complete display of TGZ files before the migration.
+
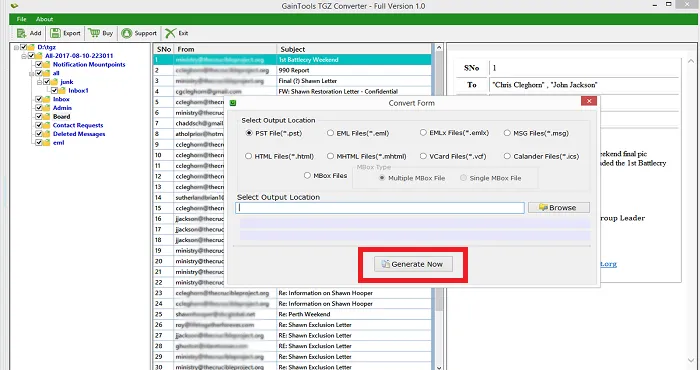
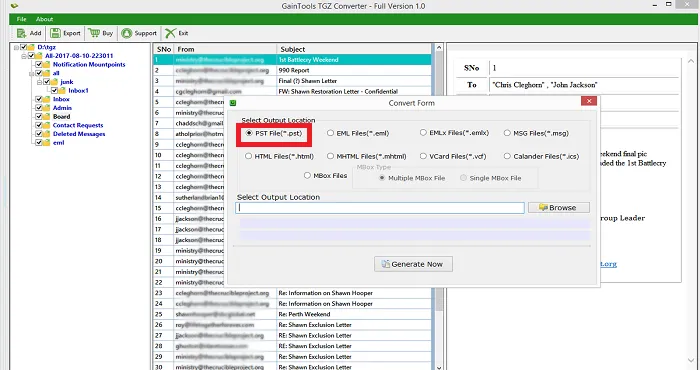
In export option, select PST format.
+
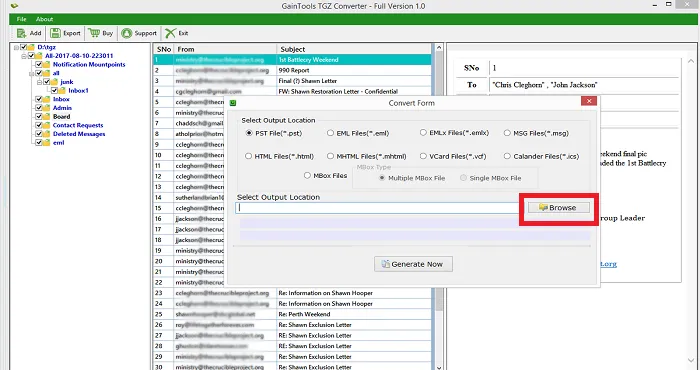
In this step, specify a location to save the resultant PST files using the Browse button.
+
In the end, click on the Generate Now button to start the conversion.