+
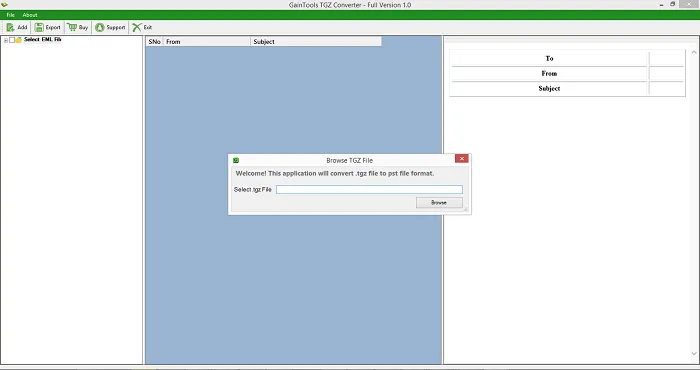
The first step is to download and launch TGZ Converter on your Windows system.
+
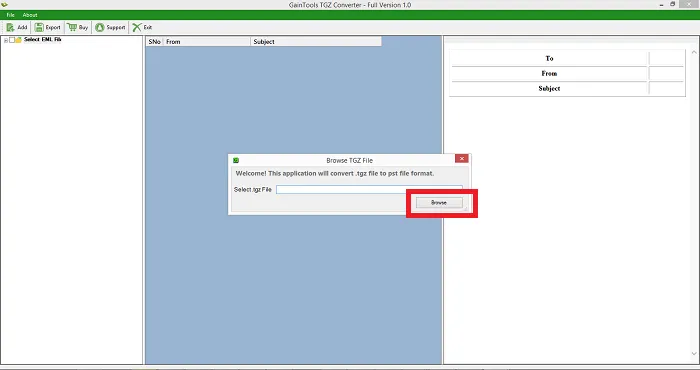
Click on the Browse button and add TGZ files.
+
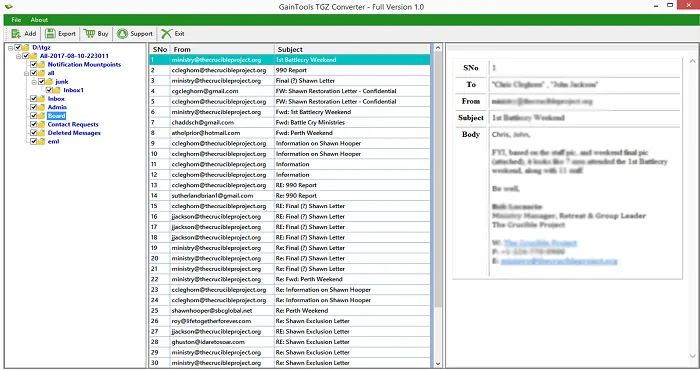
Once the files are scanned, a complete display of Zimbra files is provided.
+
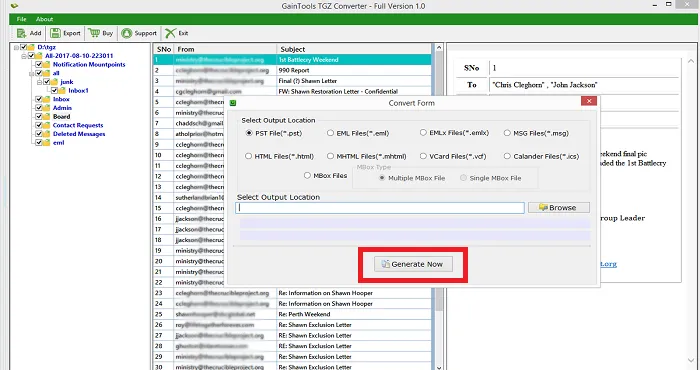
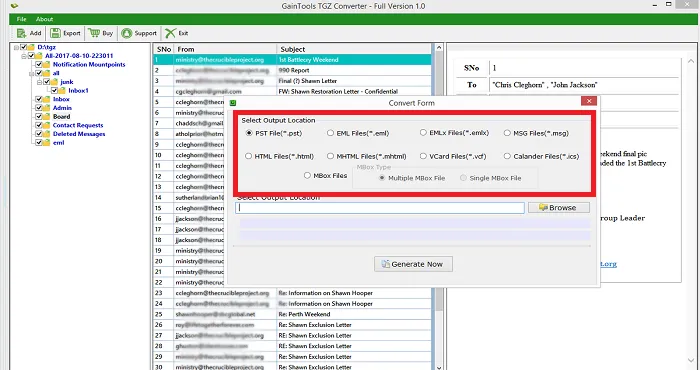
Choose an export option in which you want to export Zimbra files. PST, EML, EMLX, MSG, HTML, MHTML, VCF, ICS and MBOX formats are provided by the tool. Select a format from these options.
+
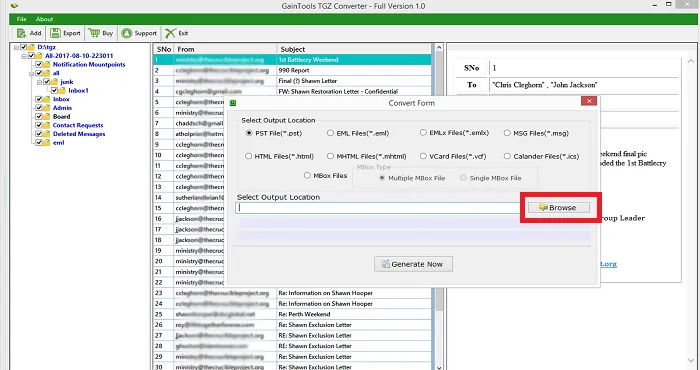
Go to the Browse button and select an output destination where you want to save the resultant file.
+
Finally, click on the Generate Now button to start the migration task.